Overview
This article delineates three essential steps for installing an 80mm fan to achieve optimal performance:
- Gathering the necessary tools and materials
- Correctly installing the fan
- Verifying its operation
The detailed instructions underscore the critical importance of proper alignment, securing connections, and monitoring performance metrics—such as noise levels and airflow—to ensure the fan operates efficiently and effectively contributes to cooling the system.
Introduction
In the realm of computer hardware, efficient cooling is crucial for maintaining optimal performance and extending the longevity of components. Installing an 80mm fan can markedly improve airflow; however, this process demands careful consideration and execution. From assembling the necessary tools and materials to verifying the fan’s functionality post-installation, each step is vital for achieving a successful setup.
This guide explores the essential steps for installing an 80mm fan, offering insights and tips to circumvent common pitfalls and ensure a quiet, efficient cooling solution for any system. Whether you are a novice or an experienced builder, grasping the nuances of fan installation can lead to a more reliable and enjoyable computing experience.
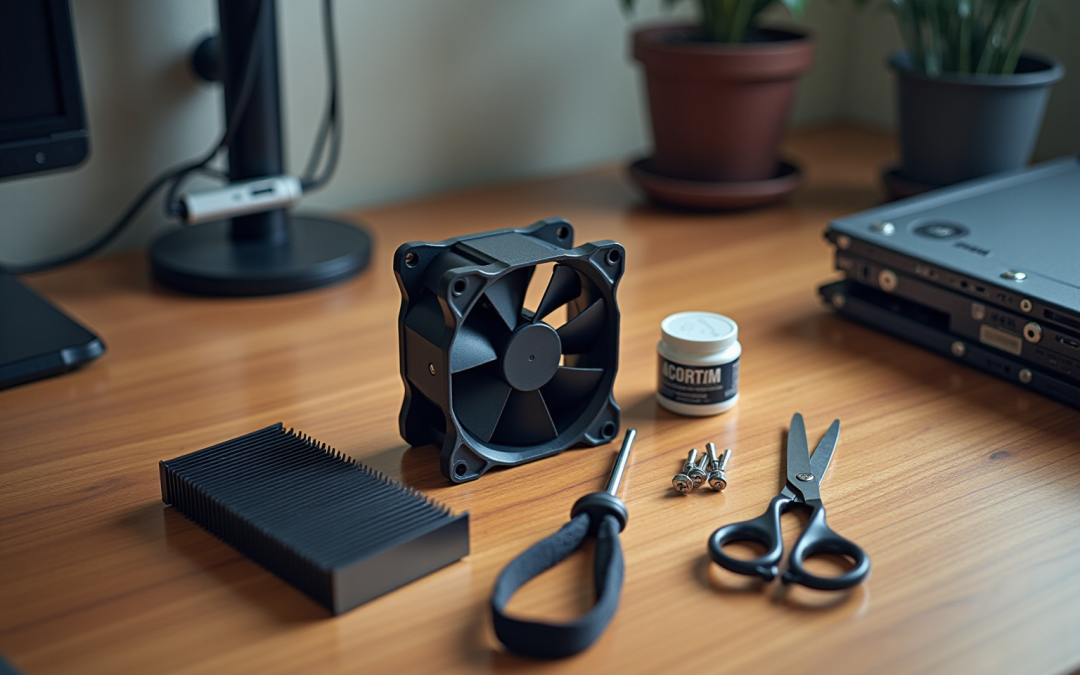
Gather Necessary Tools and Materials
-
Tools Needed:
- Screwdriver (Phillips or flathead, depending on screws)
- Anti-static wrist strap (essential for preventing static damage; approximately 70% of electronics engineers utilize these for safety)
- Scissors or wire cutters (for any necessary adjustments)
- Thermal paste (recommended if replacing an existing fan)
-
Materials Required:
- 80mm fan (consider blade design for [optimal cooling efficiency](https://gagner-toomey.com/10-benefits-of-blower-dc-fans-for-electronics-cooling) and noise reduction)
- Mounting screws (typically included with the fan)
- Fan grill (optional, enhances safety)
- Fan controller (if applicable)
-
Preparation Steps:
- Ensure the workspace is clean and free of static to protect sensitive components.
- Gather all tools and materials in one location for streamlined access during installation. It is crucial to recognize that the shape of fan blades directly impacts cooling efficiency and sound levels during operation; therefore, select a fan that meets your specific needs.
- As highlighted in the case study ‘Blade Design and Cooling Efficiency,’ well-designed blades significantly enhance ventilation and reduce noise, contributing to .
- Quality tools and materials are essential for successful installation, as emphasized by a representative from : ‘Our company has been working with for some years now and we are very happy with the quality of the reports provided by the company.

Install the 80mm Fan Correctly
- Power Down the System: Unplug the power supply and allow a few minutes for all components to discharge. This step is crucial for ensuring safety during installation.
- Open the Case: Carefully remove the side panel of to gain access to the fan mounting area.
- Locate the Fan Mounting Area: Identify the designated space for the 80mm fan, which is typically marked with mounting holes for easy installation.
- Align the Fan: Position the fan according to the airflow direction, usually indicated by an arrow on the fan casing. This alignment is essential to optimize cooling performance.
- Secure the Fan: Use the provided screws to firmly attach the fan to the mounting holes. Ensure it is secure, but avoid overtightening, as this can damage the fan or the case. Remember, those tiny brass standoff screws are not optional; they play a vital role in securing components effectively.
- Connect the Power Cable: Plug the fan’s power connector into the appropriate header on the motherboard or power supply, ensuring a proper connection for functionality.
Proper setup is crucial; statistics indicate that approximately 30% of users face issues due to common errors during fan assembly. Conducting an initial power-on test after setup is essential, as highlighted in the case study titled ‘Initial Power-On Test,’ which emphasizes the importance of confirming that all components operate properly to avoid overheating and instability in high-performance builds.
Verify Fan Operation and Performance
To ensure the optimal performance of your 80mm fan, it is important to follow these verification steps:
- Power On the System:
Reconnect the power supply and turn on the computer to initiate fan operation. - Check for Noise:
Listen for any unusual sounds from the fan. A properly installed fan should operate quietly, ideally within the 20-30 decibel range for . Maintaining a clean laptop environment can significantly reduce noise levels. Any abnormal noise may indicate improper installation or a defective unit. - Monitor Fan Speed:
Utilize software tools such as HWMonitor or SpeedFan to check the fan speed. Ensure it operates within the expected range, typically between 1,000 to 3,000 RPM for an 80mm fan, depending on the model. As Treloar observed, the correct decision relies on whether you desire efficiency or quietness; if you select thoughtfully, you can attain both. - Check Airflow:
Place your hand near the fan to feel for airflow. It should be consistent and strong, indicating effective cooling. - Temperature Monitoring:
Use monitoring software to track system temperatures. This will help verify that the fan is effectively cooling the components, ensuring optimal operation in your electronics projects. For example, the P8 Max fan features a 0 dB mode for silent operation, enabling it to operate quietly when minimal airflow is adequate, thus improving user experience in noise-sensitive settings.
By adhering to these steps, you can confirm the operation of your fan after installation, ensuring it meets the standards required for your system’s cooling requirements. Additionally, fans can connect directly to the motherboard or PSU, and understanding these options is crucial for effective installation. As noted by experts, careful monitoring of fan operation is essential for maintaining system efficiency and longevity. Statistics show that user satisfaction is closely linked to effective fan performance, making it imperative to monitor these systems closely.
Conclusion
Installing an 80mm fan is a straightforward yet critical process that can significantly enhance the cooling efficiency of a computer system. By gathering the necessary tools and materials, such as a screwdriver and the right fan, users set the stage for a successful installation. Following a meticulous step-by-step approach ensures that the fan is not only installed correctly but also operates efficiently, minimizing the risk of common installation errors.
Post-installation verification is equally important. By powering on the system and monitoring the fan’s operation—listening for noise, checking fan speed, and ensuring proper airflow—users can confirm that their new fan is functioning as intended. Utilizing software tools for temperature monitoring further guarantees that the system remains cool and performs optimally under various workloads.
Ultimately, understanding the nuances of fan installation and operation can lead to a quieter, more efficient computing experience. This knowledge empowers both novice and experienced builders to enhance system performance while extending the longevity of their components. Embracing these practices not only ensures a reliable setup but also fosters a more enjoyable interaction with technology.
Frequently Asked Questions
What tools are needed for the installation?
The tools needed include a screwdriver (either Phillips or flathead, depending on the screws), an anti-static wrist strap to prevent static damage, scissors or wire cutters for adjustments, and thermal paste if replacing an existing fan.
What materials are required for the installation?
Required materials include an 80mm fan (considering blade design for cooling efficiency and noise reduction), mounting screws (typically included with the fan), a fan grill (optional for safety), and a fan controller (if applicable).
What preparation steps should be taken before installation?
Preparation steps include ensuring the workspace is clean and free of static, gathering all tools and materials in one location for easy access, and selecting a fan with a blade design that meets specific cooling and noise requirements.
Why is the design of fan blades important?
The design of fan blades is important because it directly impacts cooling efficiency and sound levels during operation. Well-designed blades enhance ventilation and reduce noise, contributing to a more comfortable user experience.
How does the quality of tools and materials affect installation?
Quality tools and materials are essential for successful installation, as they ensure the process runs smoothly and effectively.